Moving a washing machine might not be at the top of anyone’s fun list, but it’s a task many of us face—whether you’re upgrading your appliance or tackling the big move to a new home. These heavy and awkwardly shaped appliances require care and proper planning to ensure the move is as smooth as possible. Done incorrectly, moving a washing machine could result in damage to your appliance, your home, or even worse—cause an injury. But don’t worry, we’ve got you covered.
In this guide we’ll direct you through the process of safely manoeuvring your washing machine. Plus, we’ll explore when it might be better to call in professional movers, with a handy mention of our free removals service, perfect for those using storage solutions. Let’s break it down step-by-step so you can approach moving day with confidence and ease.
Tools & Equipment Needed
When it comes to moving your washing machine, having the right tools and equipment on hand can make the process far simpler and safer. Here’s a quick rundown of what you’ll need:
Old Towels
Old towels are incredibly versatile when moving heavy appliances. You can use them for:
- Cleaning up any residual water from the washing machine.
- Providing padding to prevent the machine from shifting or getting scratched during transit.
- Laying them down to protect the floor while you move the appliance.
A Dolly or Trolley
Wheeled equipment like a dolly or trolley is a must for moving heavy appliances like your washing machine. It helps reduce the physical strain of lifting and makes it much easier to transport the machine across your home or into your vehicle. Ensure that the dolly or trolley you use can support the weight of your washing machine securely.
Bubble Wrap
Cosmetic damage — whether it’s a scratch, scuff, or dent — is a common risk when transporting appliances. Wrapping your washing machine and nearby surfaces with bubble wrap provides a protective barrier that helps keep your appliance and vehicle free from damage.
A 10mm Spanner
For many washing machines, you’ll need a 10mm spanner to remove the transit bolts before safely operating or moving the machine. These bolts are included by manufacturers to protect the drum during transport but should be removed once installed in your home. Check your washing machine manual—it’s possible the spanner needed might have come with your machine when purchased.
By gathering these items beforehand, you’ll save yourself time and hassle during the moving process. Having the right tools ensures not only a smoother experience but also helps protect your home and your washing machine from unnecessary damage!
Prepare to Move the Washing Machine
Moving a washing machine can be a challenging task, but with the right preparation, it becomes much simpler and safer. Here are some steps and tips to get your appliance ready for the move while ensuring everything goes smoothly.
Clear the Machine and the Surrounding Area
Before anything else, make sure your washing machine is completely empty. Check that there are no clothes or laundry left inside. Also, remove any cleaning products, spare clothing, or miscellaneous items stored on top of or around the machine. These can easily fall or get in the way during the moving process.
It’s also essential to clear the path you’ll take when moving the washing machine to the door. Eliminate any obstacles, like furniture or loose items, that could cause you to trip or make manoeuvring difficult. A clear, unobstructed path will save time and effort and minimise the risk of accidents.
How to Move a Washing Machine Safely
Moving a washing machine might seem like a daunting task, but with the right preparation and a step-by-step plan, it can be a smooth and straightforward process. Here’s everything you need to know to ensure your machine stays protected and functional during the move.
Turn Off the Power
Before anything else, switch off the power and unplug the washing machine from the mains. This step is crucial to avoid damage to the cables and ensure your safety. Double-check that the plug is completely disconnected.
Turn Off the Water Supply
Shut off your water supply to prevent flooding while you handle the machine. Washing machines often retain residual water, so keep towels on hand to wipe up any spills and dry the machine exterior.
Disconnecting the Pipes
Remove the cold water pipe and drain hose from the machine by carefully unscrewing them. Hold each pipe upright as you detach it to catch any leftover water. Use towels to wipe away any remaining drips.
Fix the Transit Bolts
Transit bolts are included with most washing machines to protect the drum and mechanical elements during transportation. Reattach them securely before moving the appliance—this small step can save your machine from costly damage.
Protect Your Washing Machine
Wrap your washing machine in blankets, towels, or bubble wrap to shield it from scratches, dents, and other damage. Padding also reduces the risk of injury from sharp edges.
Moving the Washing Machine
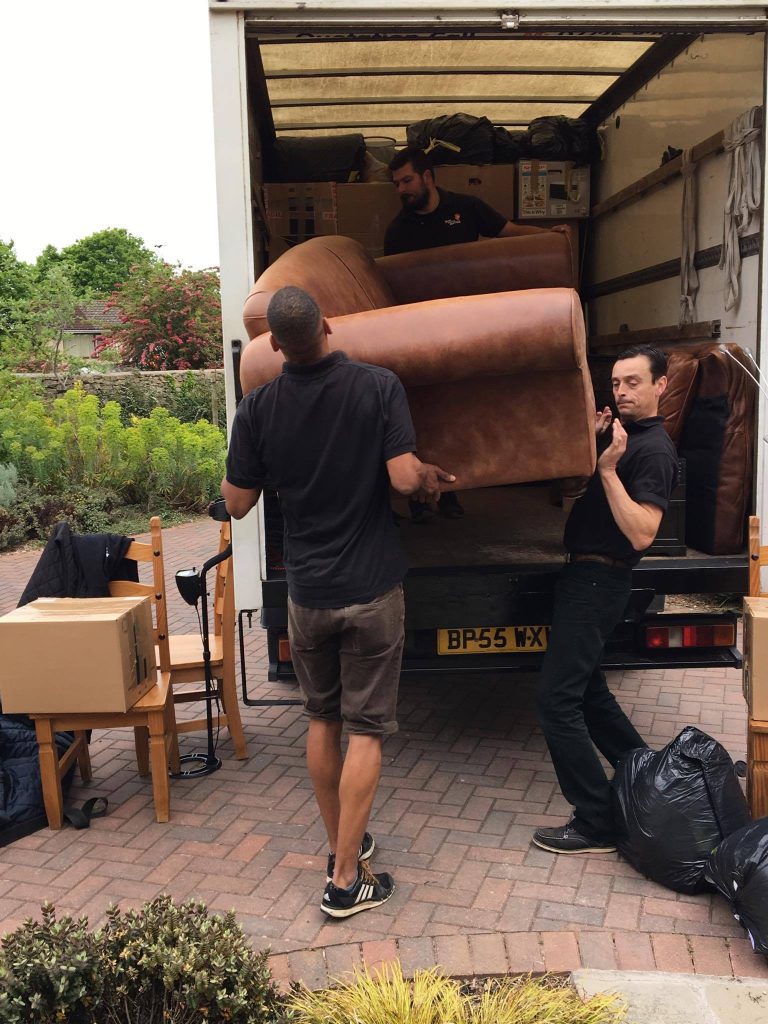
Washing machines are heavy, so you’ll need at least two people to move one.
If you’re lifting the appliance without a dolly or trolley, hold it securely from the base, and always lift with your knees—not your back—to avoid injuries. If you’re using a dolly or trolley, lift the machine carefully onto the equipment and secure it tightly to prevent it from falling during transport.
Secure the Washing Machine for Transport
Once the washing machine is loaded onto your vehicle, ensure it stays upright—placing it on its side could damage the internal suspension system. Use towels, bubble wrap, or other padding to fill any gaps, reducing the risk of the machine shifting during transit. Drive slowly, especially on corners or over bumps, to avoid any jolts.
By following the steps above, you can move your washing machine efficiently and minimise the risk of damage. Preparation is key—plan ahead, protect the appliance, and always prioritise safety.
Moving large, heavy appliances doesn’t have to be stressful. With the right approach and a bit of teamwork, you’ll have your washing machine in its new home and ready to use in no time!
Set Up the Washing Machine
Moving into a new home? When it comes to essential appliances like your washing machine, proper setup will save you from potential headaches down the line. Follow these tips to ensure your machine is installed safely and ready to go.
Ensure the Ground is Level
Before placing your washing machine, check that the floor where it will sit is level. An uneven surface can cause the machine to vibrate excessively and make loud noises during cycles. This might also lead to damage to your floorboards. Use a spirit level to verify the surface, and if it’s not level, consider using levelling feet or repositioning the machine.
Check Plug Socket Accessibility
Your washing machine will need to connect to a nearby plug socket. Ensure the plug socket is within easy reach before settling your machine into its spot. Extensions are not ideal for heavy appliances like washing machines, so proximity is key.
Connect the Waste Hose
Locate the waste hose at the back of the washing machine. This hose is responsible for draining used water from the machine. It should connect to a drainpipe in one of two ways:
- Through a vertical pipe specifically designed for appliances, or
- Under the kitchen sink, near the U-bend trap.
Ensure it’s securely connected to avoid leaks when the machine is in use.
Reconnect the Water Supply
Determine whether your model uses a single cold-water supply or both cold and hot water pipes (most modern models require only a single cold-water pipe). To reconnect:
- Attach one end of the pipe to the back of your washing machine.
- Attach the other end to your water supply tap.
- Tighten both ends securely to prevent leaks but avoid over-tightening, which may damage the fittings.
Remove the Transit Bolts
Transit bolts are used to keep the drum stable and secure during transportation. If these are still installed, they’ll prevent your machine from functioning properly and could cause damage when it runs. Unscrew the bolts and keep them stored in a safe place in case you need to move the machine again in the future.
Inspect the Drum
Before starting a wash cycle, double-check that the drum is empty. Sometimes items can be left inside the machine during the moving process. Ensuring the drum is clear will protect it from potential damage.
Final Tip
Once everything is in place, run a test cycle with no detergent or clothing to make sure the setup is correct and there are no leaks. A trial run ensures your machine is ready for action in its new home.
Moving a washing machine may not be the most exciting task on your to-do list, but with the proper preparation, tools, and techniques, it can be handled safely and efficiently. From gathering the right equipment to ensuring a smooth setup in your new home, every step plays a crucial role in protecting your appliance and your home—and avoiding unnecessary injuries.
If you’re not keen on tackling such a heavy job alone, remember that professional help is always an option. Take advantage of moving companies like Now We’re Moving, which can ease the stress of moving large appliances. Additionally, securely storing your washing machine in a personal storage unit could give you much-needed flexibility, especially during busy transition periods.
By following this guide, you can approach the process with confidence, knowing you’re doing what’s best for your washing machine and yourself. Here’s to a smooth move and many perfectly laundered loads in your new home!
Are you looking for a removals in Yeovil? Contact Now We’re Moving Today on 01225 684 514 or fill out our contact form.